Instant Pot Applesauce Recipe (Unsweetened)

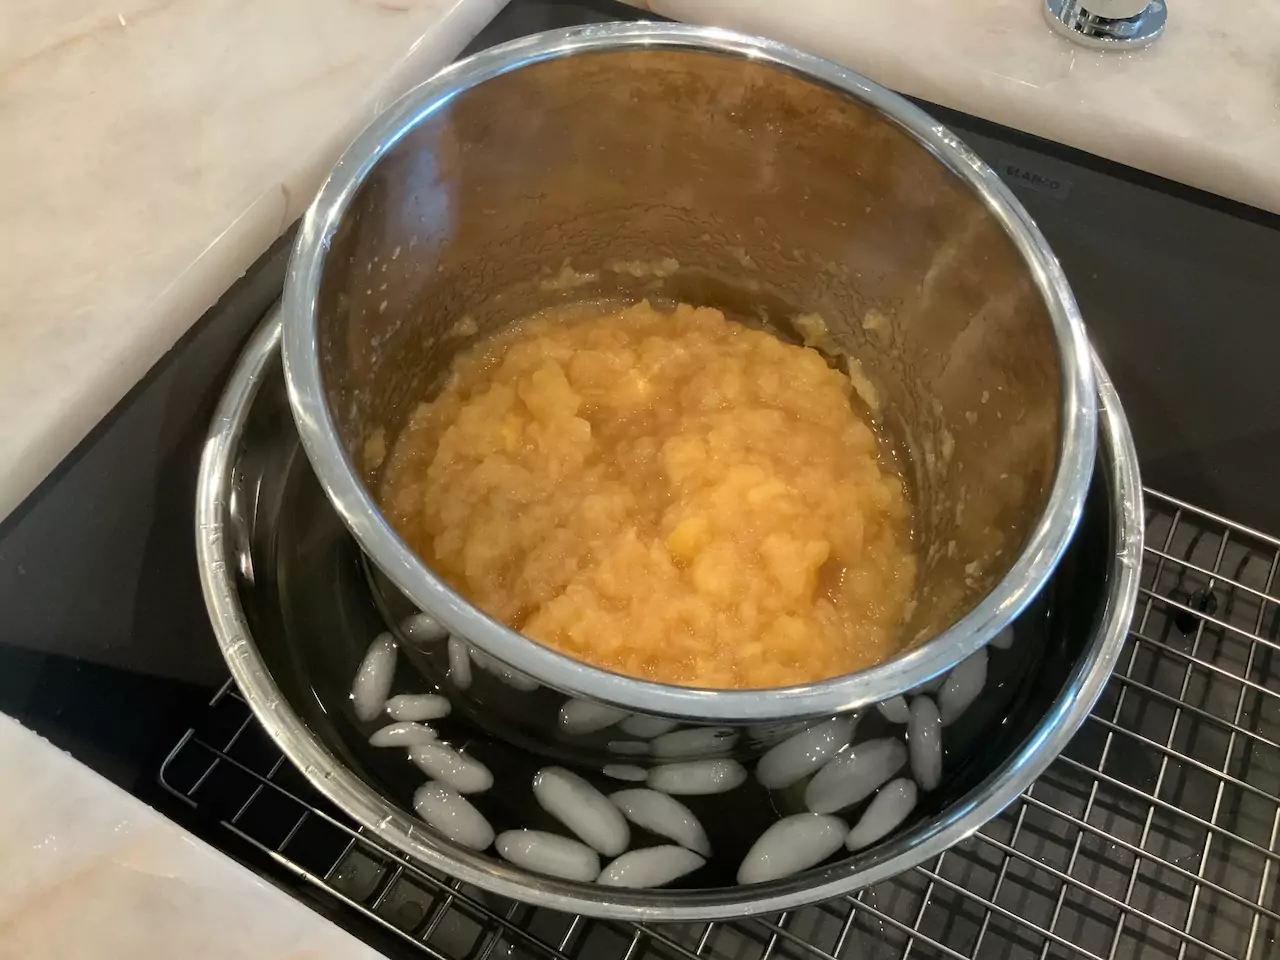
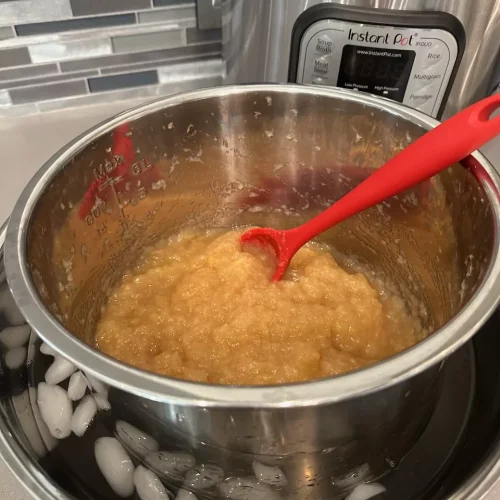
Freshly made Instant Pot applesauce in a metal bowl cooling in an ice bath, resting on a wire rack.
If you make this recipe, please leave a rating and comment below! For more recipes and tips, follow me on Instagram, Facebook, TikTok and YouTube.

This homemade applesauce is ridiculously easy and so delicious—and you don’t need to add a drop of sugar! 🙌 The sweetness comes naturally from the apples, so it’s a healthy treat my family adores. I make a big batch and freeze in small containers for quick school snacks or at-home treats.

Homemade Instant Pot applesauce cooling in an ice bath with a red spoon, next to an Instant Pot on the counter. No sugar added.

The Secret’s in the Apples 🍏

Your applesauce will only be as sweet and flavorful as the apples you use—so make sure they taste good! 😋 I love using a mix of sweet apples like Envy, Fuji, Gala, or Honeycrisp, with a few tart Granny Smith or Braeburn apples for balance.

Pro Tip: It gets sweeter as it cools, so refrigerate first before deciding if it needs a little sugar. I rarely add any!

Chunky or Smooth? You Decide! 🥄

For a chunkier texture, do a quick release right after pressure cooking. For softer sauce, leave it on a natural release for 5–8 minutes. If you like it silky smooth, zap it with an immersion blender—but I never find it necessary!

My Favorite Way to Cut Apples (🍏 + a Bonus Lemon Tip! 🍋)

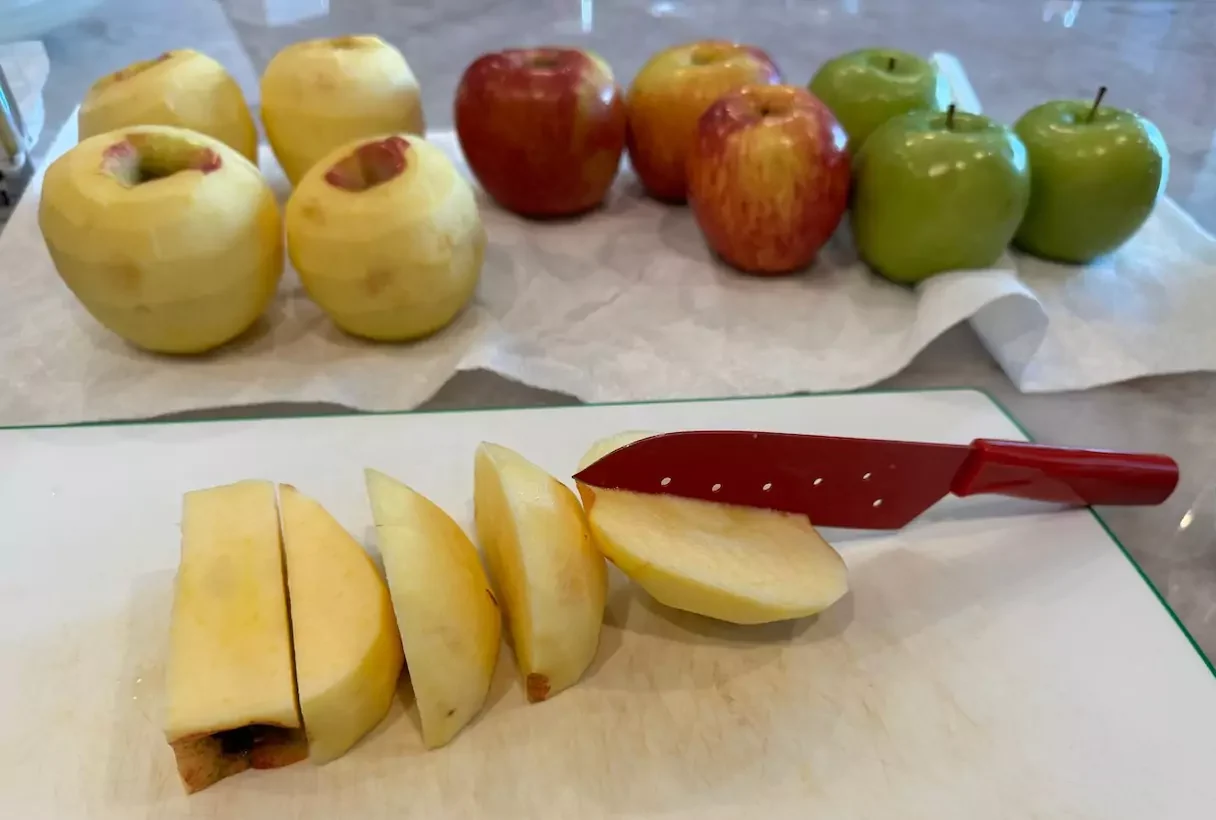
I find the easiest way is to cut down one side of the apple core, then place the cut side down and continue cutting around the core. Slice the big piece in half, and voilà—5 almost-even chunks. They don’t need to be perfect—some chunkiness is part of the charm! 🍎

Bonus Tip: While we’re talking cutting tricks—here’s a juicy one from Gordon Ramsay: when you need lemon juice, cut around the lemon vertically instead of slicing it straight across the middle, and you’ll avoid those sneaky pits! 🍋

🍏 If You Make This…

You have to try my Apple Almond Cake Bars—they’re naturally gluten-free, dairy-free, and totally irresistible. 🍎 This Applesauce is one of just 7 ingredients that you simply blitz and bake! So easy, so impressive!

Why This Applesauce Recipe Works

  • No added sugar
  • Super fast in the Instant Pot
  • Customizable texture
  • Freezer-friendly
  • Healthy treat
  • Naturally gluten-free and dairy-free
Homemade Instant Pot applesauce cooling in an ice bath with a red spoon, next to an Instant Pot on the counter. No sugar added.

Instant Pot Applesauce

Orna
This easy Instant Pot Applesauce recipe is naturally sweet with no added sugar! Made with a mix of apples and a touch of cinnamon, it’s the perfect healthy snack or side dish. Quick, customizable, and freezer-friendly—chunky or smooth, you choose!
Prep Time 20 minutes
Cook Time 20 minutes
Servings 10

Equipment

  • Instant Pot (6-quart or similar electric pressure cooker)

Ingredients
  

  • juice from 1/4 lemon I slice one vertical wedge—no pits!
  • ¼ cup water
  • pinch of salt
  • ½ teaspoon cinnamon or more if you love cinnamon!
  • 6 large or 7 medium sweet apples (Envy, Fuji, Gala, Honeycrisp) washed and peeled
  • 3 medium tart apples (Granny Smith, Braeburn) washed and peeled

Instructions
 

  • Add the lemon juice, water, salt, and cinnamon to the Instant Pot. Swirl to mix.
    2. Cut apples into 5 chunks each (see method above) and add to the pot.
    3. Secure the lid and set the steam release valve to Sealing.
    4. Select Pressure Cook on High Pressure for 3 minutes. (It will take about 10–20 minutes to come to pressure.)
    5. For chunky applesauce, do a quick release: carefully turn the valve to Venting (Cover with a towel to avoid splatter). Wait until the metal pin drops.
    6. Carefully open the IP and stir the applesauce. If you want it softer, replace the lid and let the residual heat soften it for another 1–2 minutes.
    7. For smoother sauce, let it naturally release for 5–8 minutes before turning the valve (quick release) and opening.
    8. Press Cancel and remove the insert.
    9. Optional: Place the bowl in a water bath (big bowl filled with ice water) to stop the cooking quickly—especially if you like it chunky. Or pour into another bowl and cool on a rack.
    10. Chill in the fridge and enjoy cold—it sweetens as it cools! (Taste once it's chilled and if you like it sweeter add a pinch of sugar or brown sugar but I rarely find that necessary)
    11. Optional: Use an immersion blender if you prefer it silky smooth.

MAKE AHEAD/STORAGE

  • Refrigerate for up to 1 week
    Freeze for up to 3 months (I use small containers for easy grab-and-go portions!)
📌🍎 Save it now, make it soon!

*This post may contain Amazon Affiliate links whereby I earn a tiny commission at no additional cost to you.

Did you make this recipe?

I’d love to see what you made – tag @ornabakes in your posts and I’ll re-share!

share this recipe:

Facebook
Pinterest
Email

If you like this recipe you might also like these!

Leave a Reply

Your email address will not be published. Required fields are marked *

Recipe Rating